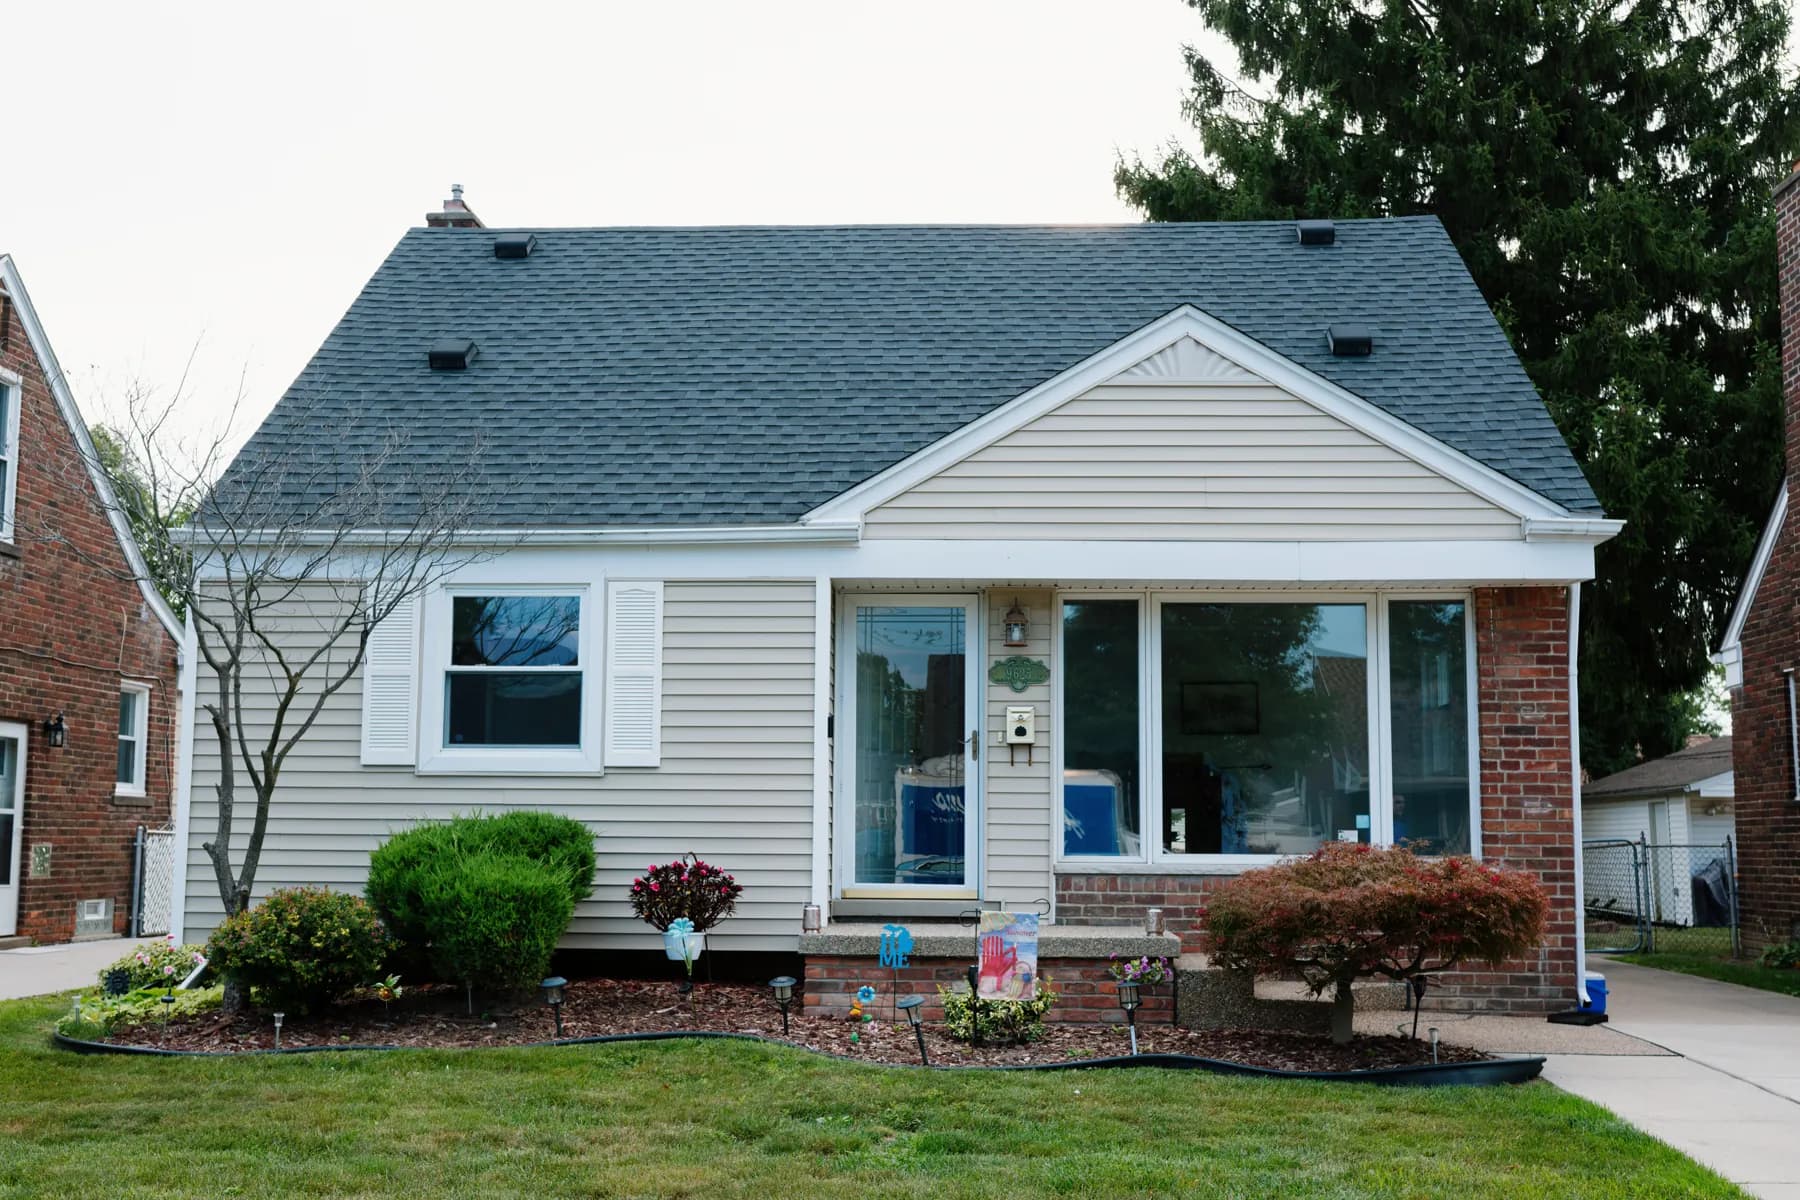
Measuring for siding is crucial for a successful installation. This guide will show you step-by-step how to measure for siding every part of your house accurately. From gathering tools to calculating square footage and accounting for windows and doors, we’ve got you covered.
Key Takeaways
- Gather essential tools like a measuring tape, pencil, paper, and a ladder before measuring for siding to ensure accuracy.
- Create a simple sketch of your house to track measurements and account for all design features, including windows and doors.
- Consulting home improvement professionals can enhance your project, ensuring accurate measurements and compliance with local regulations.
Essential Tools for Measuring Siding
Before: Before starting measurements, gather the necessary tools. The basics include a measuring tape, a pencil, paper, and a ladder. A measuring tape helps in obtaining precise dimensions of all surfaces for siding installation. A pencil and paper help you jot down measurements, ensuring no detail is overlooked. A calculator is useful for determining the amount of siding needed.
After: Before starting measurements, gather the necessary tools:
- A measuring tape, which helps in obtaining precise dimensions of all surfaces for siding installation
- A pencil and paper, which help you jot down measurements, ensuring no detail is overlooked
- A calculator, which is useful for determining the amount of siding needed
A ladder is indispensable for safely reaching high areas of your house. Having these tools on hand ensures accurate measurements, the foundation of a successful siding project.
Creating a Sketch of Your House
Sketching your house is a vital step in the measuring process. This doesn’t have to be a work of art, a basic sketch will do. Draw your house’s outline, including all walls and significant design elements like inset doors and bumped-out windows. This sketch will help you track the areas that need measurement and ensure no section is overlooked.
Represent complex wall shapes using basic geometric figures for clarity. Directly include measurements on the sketch to avoid confusion later. This visual aid will be your roadmap throughout the measurement process, ensuring you capture all necessary dimensions accurately.
Measuring Rectangular Walls
Measure the height and width measurements of each rectangular wall unit, noting each measurement and recording them in half feet.
Measure the height and width measurements of each rectangular wall unit, noting each measurement and recording them in half feet.
Account for any large obstructions like doors and windows. Calculate the square footage of these openings and subtract it from the total wall area. While small obstructions can be ignored, large ones must be deducted for accurate measurement.
Start by listing some forbidden forms of the keyword “multiplying” according to the rule 5. Then, find out if there’s a chance to incorporate the keyword without making any extra assumptions, according to the rule 2. Keep it short.
Multiply the height by the width of each wall to calculate its square footage. Multiplying this process for all rectangular walls of your house will ensure accuracy. Exclude gables from these measurements; they will be measured separately.
Measuring Triangular Gables
Determine the base length and height from the base to the peak to measure triangular gables. Use your measuring tape to accurately measure the height from the base to the peak.
With these measurements, calculating the square footage is straightforward. Multiply the base length by the height, then divide by two. This formula (base x height / 2) gives you the gable area, ensuring every part of your house is included in your siding calculations.
Calculating Total Square Footage
With all your measurements in hand, calculate the total square footage. Sum up the square footage of all rectangular walls and triangular gables. Multiply height by width for rectangular walls, and use the base times height divided by two formula for gables, including any squares in your calculations. The area of each section can be expressed in square foot.
Subtract the square footage of windows and doors from your total. This prevents overestimating how much siding is needed. For example, subtract 20 square feet for a door from the total wall measurement.
This extra material covers potential waste during cutting and fitting, providing a buffer for a smooth siding job without unexpected shortages. Consider how much material you will need to ensure everything fits perfectly.
Estimating Linear Feet for Starter Strips
Estimating linear feet for a starter strip is crucial. Since these strips are installed at the base of the wall, measure the perimeter of your house at ground level. This measurement provides the total length needed for the starter strips.
Include the required linear feet for starter strips in your overall siding measurement. This ensures you have all materials needed for a complete installation. Neglecting these components can lead to an incomplete siding job, causing delays and additional costs.
Measuring Around Windows and Doors
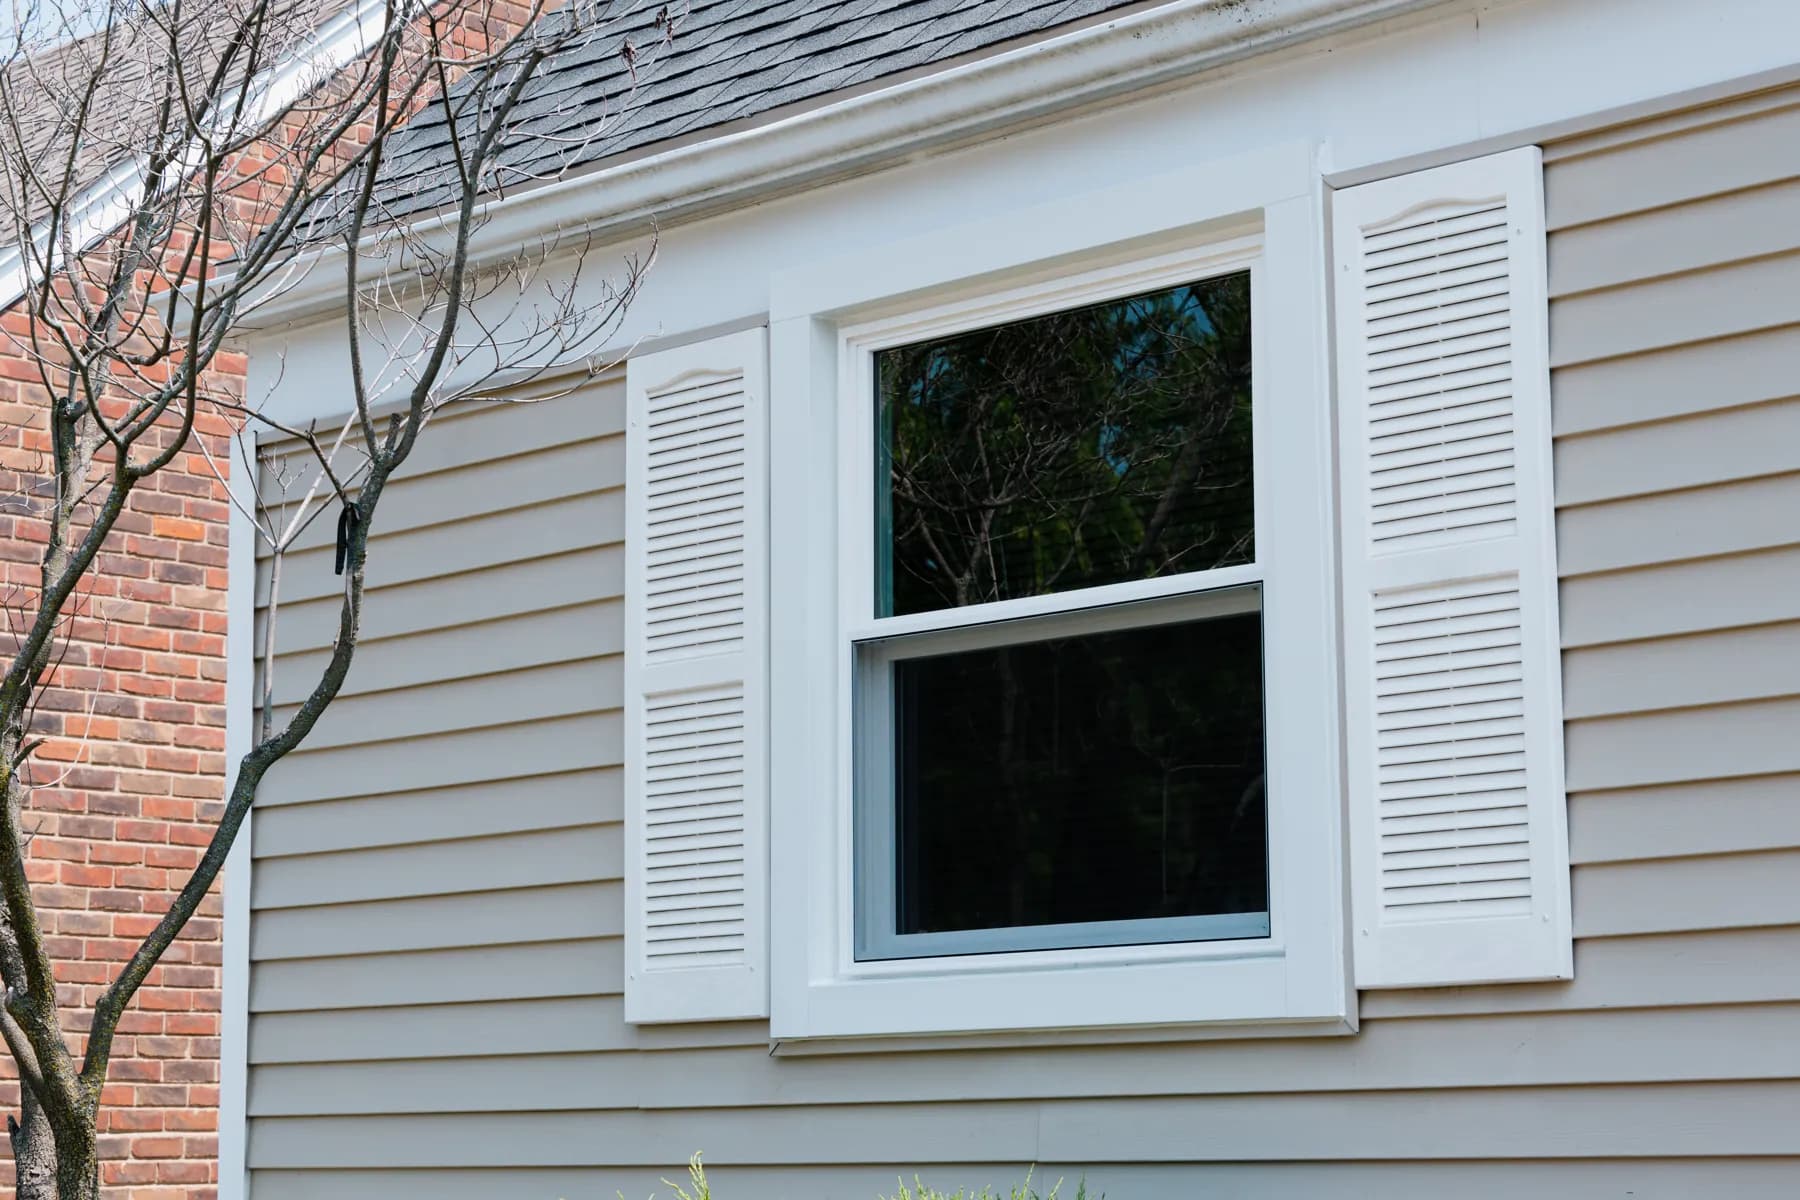
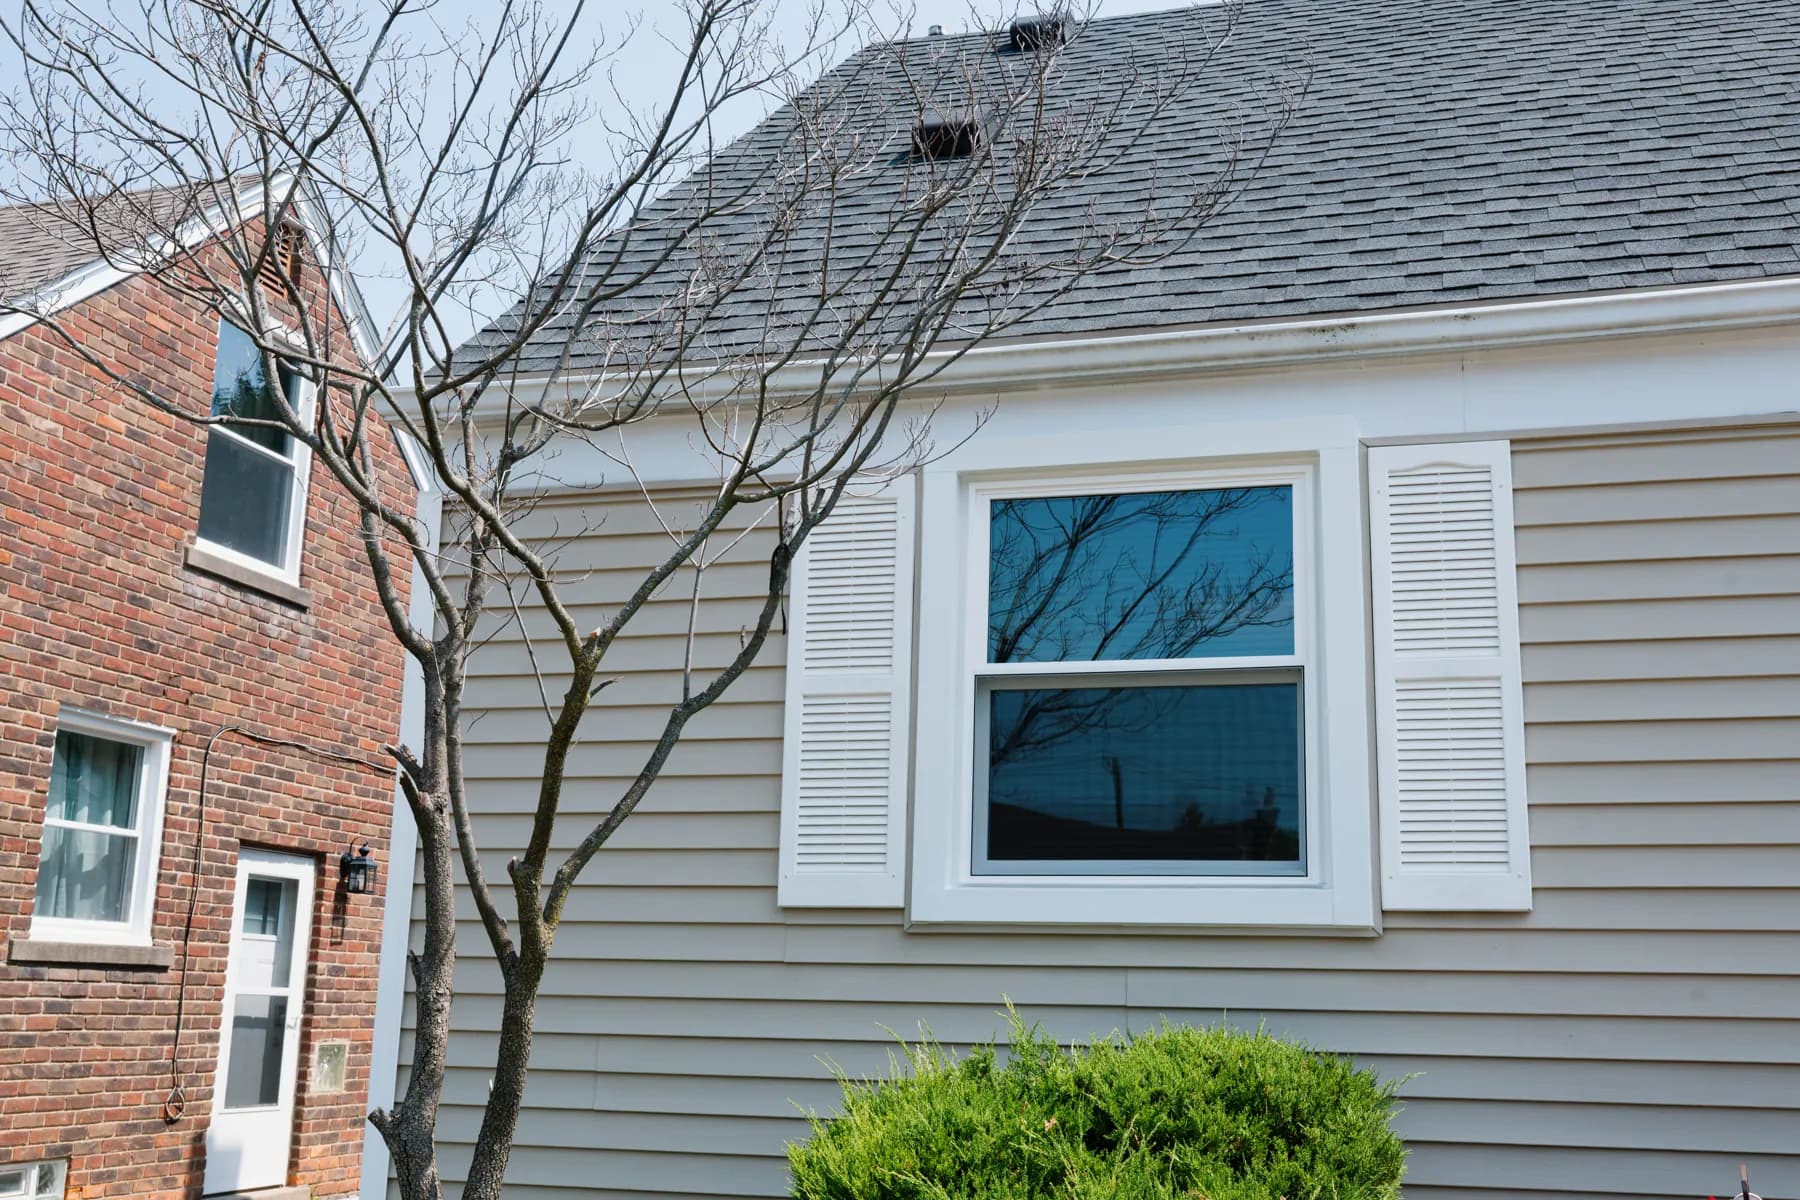
Accurate measurements around windows and doors ensure a seamless siding installation. Measure the height and width of each opening. Subtract the area of large openings like garage doors from the total wall measurement for precision.
Then, measure the combined lengths of all tops, sides, and bottoms of windows and doors for accurate J-Channel measurement. This trim piece is crucial for a polished look and must be measured correctly to cover all edges.
Sum the lengths at the tops of each window and door to determine the total J-Channel needed. This ensures every nook and cranny is accounted for, providing a flawless finish to your siding project.
Accounting for Corners and Trim
Account for all architectural features when measuring for corners and trim. Measure the height of inward and outward corners separately for accurate results. Include design elements like inset doors and bumped-out windows in your calculations.
Plan for one corner post per corner unless they exceed the height of standard posts. This helps you budget accurately and avoid unexpected additional costs.
Avoiding Common Measuring Mistakes
Accurate measurements prevent underestimating or overestimating materials needed for your siding project. Rushing measurements can cause inaccuracies, leading to material shortages or excess waste.
Measure twice and take careful notes to avoid mistakes.
Consulting Home Improvement Professionals
Consulting homeowners contractor home improvement professionals can greatly enhance your exterior siding project’s success. Professionals provide accurate measurements, ensure compliance with local regulations, and help obtain necessary permits for re siding.
Hiring experts increases the likelihood of achieving a high-quality result. Their experience and knowledge ensure your new siding installation is done right the first time by a qualified installer, allowing you to install with confidence.
Given the complexities, consulting a professional is a great option to protect your investment and begin achieving a flawless cost factor estimate finish that is resistant and covered.
Summary
Accurate measurements are the cornerstone of any successful siding project. By following the steps outlined in this guide, using the right tools, creating a detailed sketch, and meticulously measuring, you can ensure a smooth and efficient siding installation.
Whether you choose to take on the task yourself or consult home improvement professionals, the key to a successful siding job lies in the details. Measure carefully, plan thoroughly, and enjoy the transformation of your home’s exterior.
Published by Adkins & Sons, a family-owned window, door and siding company in Southgate, Michigan since 1979. See our vinyl siding